DIY Dried-Flower Bouquets for Winter and Early Spring Weddings
Fresh wedding flowers can lose 10 to 20 percent of their water weight within the first day after cutting, while properly dried stems can last for years indoors. That makes a dried bouquet more than a budget decoration. It is a practical way to keep your bouquet intact through a cold ceremony, a long photo session, and the trip home.
The best winter and early spring bouquets do not look like summer arrangements with the water removed. They use warm neutrals, seed heads, preserved foliage, and a few strong shapes that suit low winter light. This guide gives you a clear recipe, a realistic budget, and the mistakes that make homemade bouquets look flat or fragile.
Choose dried flowers by season, color, and stem strength
Winter flowers need texture more than brightness
Winter light is blue and often weak, especially in churches, city halls, and indoor reception rooms. Pale beige flowers can disappear against a white dress. Start with a base of oat, caramel, cinnamon, rust, or muted blush. Add one darker accent, such as burgundy, chocolate brown, or deep olive, so the bouquet has definition in photographs.
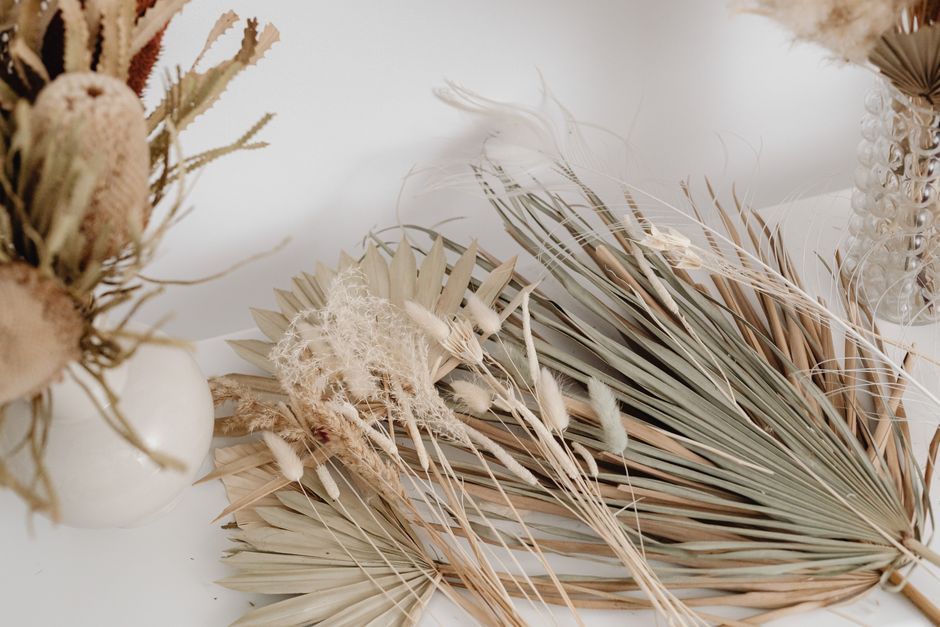
Strong winter choices include pampas grass, bunny tails, wheat, bleached ruscus, palm leaves, natural cotton, preserved eucalyptus, and dried hydrangea. Strawflower and statice add small points of color without making the design feel like a summer garden. For early spring, add dusty lavender, pale yellow, soft blue, or sage. These shades suggest new growth while still working with dried textures.
Use a three-layer stem formula
A reliable DIY bouquet has three layers: five to seven tall focal stems, eight to twelve medium stems that fill the center, and six to ten small stems that soften the edge. For a bouquet about 11 inches wide, begin with 5 stems of pampas or preserved palm, add 8 stems of wheat or ruscus, then finish with 10 to 14 bunny tails, statice, or small strawflowers.
Keep the bouquet slightly asymmetrical. A perfect sphere can look artificial, while one long stem on either side gives the design movement. Strip leaves from the lower 8 inches of every stem before arranging. That prevents bulk under the binding point.
Plan the bouquet before buying supplies
Measure the finished handle first. A bridal bouquet usually needs a 7 to 9 inch exposed handle, with the flowers extending 12 to 16 inches above it. Draw the shape on paper and write down the number of stems in each layer. This simple step prevents the most common beginner error: buying attractive individual stems that do not combine into a balanced bouquet.
Build the bouquet in 30 minutes with a simple stem order
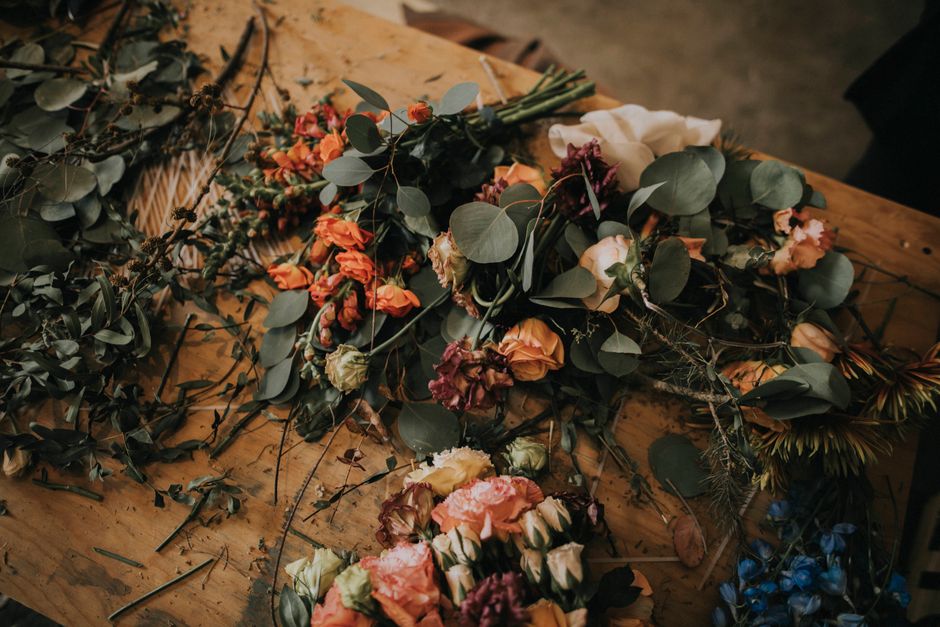
My recommendation: build the bouquet from the center outward, and bind it before adding the final edge stems. This method gives you control over height and keeps delicate dried flowers from rubbing together while you work. The finished bouquet should feel light in the hand, not tightly packed like a supermarket bunch.
Start with the tallest stem and rotate the bouquet a quarter turn after each addition. Place medium stems at a lower angle, then use the smallest flowers to cover gaps. Do not squeeze the stems together until the final binding. Dried flowers break when you force them into a dense bundle.
Assembly sequence
- Lay all stems on a clean table and separate them into tall, medium, and small groups.
- Hold one tall focal stem in your non-dominant hand at the center.
- Add four more tall stems around it, rotating the bouquet as you work.
- Insert medium stems at a 30-degree angle so they sit below the focal flowers.
- Turn the bouquet slowly and check that the silhouette looks balanced from the front and side.
- Add small flowers around the outside, leaving a few stems longer for a loose outline.
- Wrap floral tape around the binding point, then cover it with ribbon or cotton twill.
- Trim the handle to 7 to 9 inches and place the bouquet in a tall, dry box for transport.
Tools that make the job easier
The Fiskars Bypass Pruner, usually about $19, is the best choice for thick wheat, palm, and ruscus stems because its bypass blade makes a clean cut without crushing the stem. Oasis green floral tape costs about $7 per roll and holds the bundle temporarily while you adjust the shape. For a finished handle, 1.5-inch velvet ribbon from Mokuba often costs $10 to $18 per yard, depending on the color and retailer.
Keep a small pair of scissors nearby for ribbon only. Using floral shears to cut fabric can dull the blade, which makes later stem cuts rough and more likely to split.
Compare bouquet ingredients before you spend your budget
A dried bouquet is affordable only when you buy stems that do more than one job. One tall bundle should create height, fill the background, and supply extra pieces for the boutonniere or cake table. The table below uses typical retail price ranges for small DIY quantities and shows where each material earns its place.
| Material | Typical quantity | Price range | Best use | Main drawback |
|---|---|---|---|---|
| Afloral dried pampas grass | 5 to 10 stems | $18 to $28 | Height and soft movement | Sheds if handled repeatedly |
| Sola Wood Flowers DIY bouquet kit | 25 to 35 flowers | $35 to $50 | Consistent focal blooms | Needs dye or paint for custom color |
| Ling’s Moment dried flower kit | 20 to 30 stems | $35 to $55 | Fast, coordinated color palette | Less variation than loose stems |
| Preserved eucalyptus | 1 bundle | $16 to $25 | Green structure and scent | Can crumble when very dry |
| Natural wheat or oats | 20 to 40 stems | $10 to $18 | Low-cost filler and rhythm | Can look rustic if overused |
For most couples, the strongest value is a mixed purchase: one tall pampas bundle, one green bundle, one flower kit, and a low-cost grain filler. That combination usually produces a bridal bouquet plus two small attendants’ bouquets for about $90 to $150, before ribbon and shipping.
The clear winner for a fast, coordinated design is the Ling’s Moment kit. Choose the Sola Wood Flowers kit when you want a more handmade look and have time to dye the blooms. Skip both kits if your venue has a strict no-shed policy; loose grasses can create cleanup problems.
Fix the failures that make dried bouquets look cheap
Why does the bouquet shed?
Pampas grass and bunny tails shed when they are old, damp, or handled too often. Buy stems that feel dry but flexible, then spray them lightly outdoors with an unscented matte sealant from about 12 inches away. Do not soak them. Heavy spray darkens pale stems and makes them sticky.
Why does the bouquet look flat?
Flat bouquets usually contain too many short filler flowers and not enough height. Remove 20 percent of the small stems, then add three tall pieces at different heights. A bouquet should have a high point, a middle mass, and an uneven outer edge. Symmetry is not the goal; readable shape is.
When should you avoid dried flowers?
Do not choose dried flowers for an outdoor beach wedding with strong wind, a humid greenhouse venue, or a ceremony where the bouquet will sit in direct sunlight for hours. Moisture softens stems, and intense sun fades dyed flowers. Fresh flowers or high-quality silk flowers are better in those settings. Dried flowers are strongest for indoor winter weddings, heated halls, galleries, restaurants, and early spring ceremonies with controlled temperatures.
Also avoid a heavily scented bouquet if guests have allergies or the reception uses candles and strong food aromas. Dried eucalyptus can be pleasant, but its scent becomes noticeable in a small room.
Match the bouquet to your dress and wedding photographs
For a simple satin dress, choose a loose bouquet with pampas, wheat, and one dark accent. The texture adds interest without competing with the clean fabric. For lace, embroidery, or beading, use fewer busy textures and choose a compact shape so the bouquet does not fight the dress.
Which shape works best for a winter wedding?
A hand-tied round bouquet is the easiest shape for a first project and the safest choice for a fitted dress. Keep it 10 to 12 inches wide. A cascading bouquet creates more drama, but it needs stronger stems and careful balance. Choose it only when the dress has a long, simple line that can support the extra length.
How should the colors change for early spring?
Replace some rust and brown with muted lilac, ivory, pale butter yellow, and soft sage. Keep one winter shade, such as wheat or cinnamon, so the bouquet still feels seasonal. The best early spring palette is usually four colors or fewer. More than that can make dried materials look like a craft-store assortment.
Photograph the finished bouquet in the same kind of light used at the venue. Warm indoor light can make beige stems look orange, while daylight reveals faded or gray patches. Make your final color decision from a photograph, not only from the table.
The strongest DIY bouquets in 2026 will keep moving toward natural texture, smaller waste, and designs that can be displayed after the ceremony. A well-built dried bouquet does not end when the last dance does; it becomes the part of the wedding that still has a place in the home.