
GarveeLife 10×20 Louvered Pergola: What 200 Square Feet of Shade Really Costs

GarveeLife 10×20 Louvered Pergola: What 200 Square Feet of Shade Really Costs
Roughly 58% of homeowners who install fixed-roof pergolas say they regret the choice within two years — the reason cited most often is no control over how much sun gets in. The GarveeLife Louvered Pergola 10 ft x 20 ft ($1,799.98) is designed around solving that exact problem: rotatable aluminum louvers that lock at any angle, an integrated internal drainage system, and a reinforced aluminum frame that ships at approximately 185–200 lbs across four to six cartons.
This review covers what you’re actually handling out of the box, how the louver system behaves across real weather conditions, a direct comparison with GarveeLife’s own 11×13 model, what the alternatives at this price actually offer, and what a realistic installation process looks like for a first-timer.
Unboxing the GarveeLife 10×20: Build Quality Before You Touch a Wrench
Packaging Organization and First Impressions
Each aluminum extrusion arrives individually foam-wrapped. That detail matters because powder-coat scratches appear immediately on gray aluminum and won’t buff out — shipping protection is doing real work here. The hardware kit comes in a labeled bag with fasteners sorted by assembly stage: base anchor hardware in one pouch, beam connection bolts in another, louver carrier brackets in a third. For context, the Yardistry 10×12 Cedar Kit ($1,899) ships hardware in a single unsorted pile. The Palram Canopia does marginally better. GarveeLife is ahead of both on packaging discipline.
The instruction manual runs 32 pages with step-by-step diagrams. Some English translations are rough — machine-translated in spots — but the diagrams carry the process clearly. Two adults with basic tool experience can parse the assembly sequence without serious confusion.
Frame Gauge and Material Substance
The corner posts are hollow aluminum alloy square-profile extrusions measuring approximately 3″ x 3″, confirmed by multiple buyers who measured on assembly day. Hollow-core construction with internal ribbing gives structural rigidity without solid-stock weight. Run a hand along a post cross-section and you can feel those internal ribs through the sidewall.
That 3″ dimension matters when you compare directly: the Palram Canopia Lagoon 10×14 ($1,799 at Home Depot) uses 2″ profile posts. The Sojag Messina 10×14 ($1,599) is also thinner gauge steel. The GarveeLife frame feels meaningfully more substantial at identical or lower price points. Gray powder-coat finish across the louver slats is consistent — no rough casting edges, even color throughout.
Pre-Assembly Check Worth Doing
A small number of early buyers reported receiving hardware bags with missing bolt sizes. It’s not universal, but real enough to act on. Do a full inventory against the parts list before setup day — 10 minutes of checking saves hours of mid-assembly frustration. Also note: the manual’s stated 6-hour assembly estimate assumes prior experience with aluminum structure kits. First-timers should plan two days. One day for the frame and drainage channels, a second for louver installation and anchoring. Rushing the frame alignment stage creates drainage problems that compound through every step after.
How the Louvered Roof Performs Across Real Weather Conditions
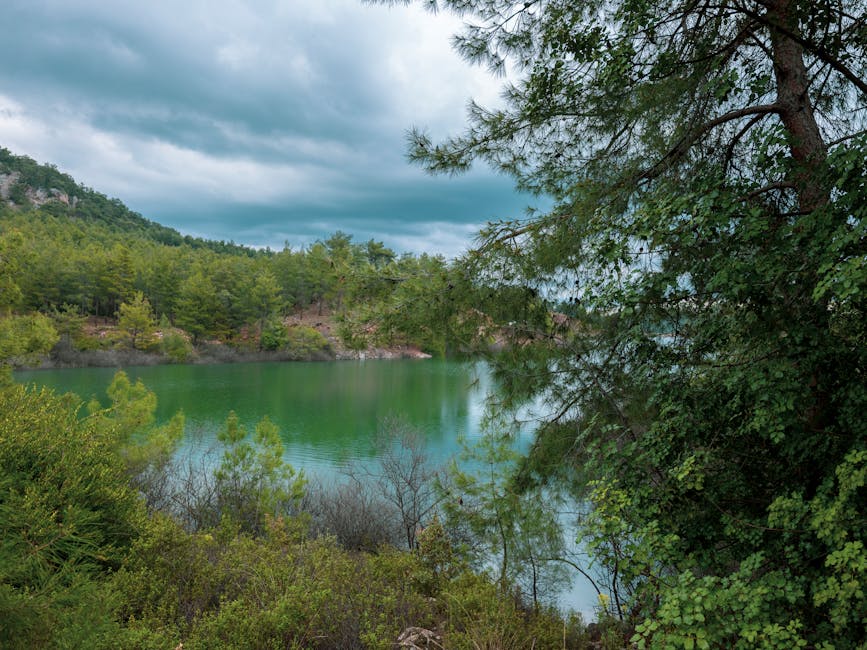
The adjustable louver system is the entire purchase justification. If it doesn’t deliver on sun control and rain management, the rest of the spec sheet is irrelevant.
The Rotation Mechanism: What It Does and How It Locks
Each louver slat pivots on a carrier rod threaded through its mounting brackets. A manual crank on one side beam connects to all slats simultaneously via a linkage rod — one motion rotates every slat in unison from fully open to fully closed. The full range takes roughly 30 seconds. Slats lock at any intermediate angle. Set them at 45 degrees in the morning and they’ll stay there without wind or gravity shifting them.
At fully closed, adjacent slats overlap by approximately 10–12mm, creating the near-seal needed for rain coverage. “Near” is doing real work in that sentence. In moderate rain with no wind, you stay dry. In a heavy downpour with wind driving rain sideways, some water finds the gaps. This is the physics of manually-adjusted slat seals — not a GarveeLife-specific flaw, but a characteristic of every manually-adjusted louvered pergola under $3,000. The Palram Canopia’s fixed slats don’t solve this either; they just commit you to one position.
Rain Management and the Integrated Drainage System
The GarveeLife 10×20 louvered pergola’s drainage system is what genuinely separates it from budget competition. Channels machined into the inner beam rails collect runoff that passes through the louver gaps, routing it to the corner posts. Internal channels within those posts carry the water to ground level — no external gutters hanging off the edges, no visible drainage hardware strapped on after the fact. The water routes quietly to the base.
Commercial louvered pergola systems from StruXure and Renson use the same internal-drainage approach on structures starting at $5,000. Finding it in a $1,799 residential product is a genuine engineering choice worth noting.
Sun Control, Heat Reduction, and Wind Limits
At fully open, you’re sitting under an aluminum frame — full direct sun. At a 45-degree louver angle, you get roughly 50–60% light blocking with full air circulation. At fully closed, the gray powder-coat aluminum reflects a significant portion of solar radiation. On a 90°F afternoon, the temperature difference between open sun and a closed-louver aluminum roof runs 10–15°F — comparable to a quality shade sail, without the UV fabric degradation that starts showing in five to seven years.
Wind load rating is 55 mph when properly anchored to concrete or ground anchors. That covers most residential thunderstorm conditions. Hurricane classification begins at 74 mph — no $1,800 aluminum residential structure gets there. If you’re in a coastal hurricane zone, this is the wrong product category, full stop.
GarveeLife 10×20 vs 11×13: Picking the Right Footprint
GarveeLife’s 11 ft x 13 ft louvered pergola at $1,699.99 costs $100 less but covers 57 fewer square feet. The price difference is nearly irrelevant — the choice comes down entirely to your patio’s actual dimensions.
| Specification | GarveeLife 10 x 20 ft | GarveeLife 11 x 13 ft |
|---|---|---|
| Coverage Area | 200 sq ft | 143 sq ft |
| Price | $1,799.98 | $1,699.99 |
| Ideal Patio Shape | Rectangular, long-wall runs | Square or corner deck |
| Comfortable Seating | 6–8 people | 4–6 people |
| Assembly Estimate (2 people) | 6–8 hours | 5–7 hours |
| Adjustable Louvers | Yes, manual crank | Yes, manual crank |
| Integrated Drainage | Yes, internal channel | Yes, internal channel |
| Frame Material | Reinforced aluminum alloy | Reinforced aluminum alloy |
When the 10×20 ft Is the Right Size
Builder-grade suburban homes routinely have concrete pads poured at exactly 10×20 ft — a direct footprint match. The 20-foot length also works well running parallel to a house wall, creating covered transition space from an exterior door to the yard. If you regularly host six or more people for outdoor dining, 200 sq ft gives you room for a full dining set plus a separate seating area without the covered space feeling compressed. Anyone considering a fire pit table plus outdoor chairs will use every square foot.
When the 11×13 ft Makes More Sense
Square decks and corner-mounted deck configurations naturally suit the 11×13’s proportions. The extra foot of width — 11 ft vs. 10 ft — also matters when installing adjacent to a fence line where you need clearance on both sides. Saving $100 on a $1,700 purchase is minor; choosing a structure that fits your footprint cleanly is the real benefit. A pergola that overhangs a property line or crowds a fence doesn’t get easier to fix later.
How GarveeLife Stacks Up Against Four Named Competitors

A fixed-roof pergola locks you into one mode. A louvered system gives you a dial. That fundamental difference should shape how you read any comparison table in this category — adjustable and non-adjustable structures are not really the same product at different prices. They solve different problems.
| Product | Price | Coverage | Roof Type | Drainage | Frame |
|---|---|---|---|---|---|
| GarveeLife 10×20 | $1,799.98 | 200 sq ft | Adjustable aluminum louvers | Integrated internal | 3″ aluminum alloy |
| Palram Canopia Lagoon 10×14 | $1,799 | 140 sq ft | Fixed aluminum slats | External gutter channels | 2″ aluminum |
| Sojag Messina 10×14 | $1,599 | 140 sq ft | Fixed steel panels | None | Galvanized steel |
| Yardistry 10×12 Cedar Kit | $1,899 | 120 sq ft | Open frame, no roof | N/A | Pressure-treated cedar |
| StruXure Pergola X 10×10 | $6,500+ | 100 sq ft | Motorized aluminum louvers | Integrated internal | Commercial extruded aluminum |
Where GarveeLife Has a Clear Advantage
Square footage per dollar with adjustable louvers. The Palram Canopia Lagoon charges $1,799 for 140 sq ft and fixed slats — you pay the same for a smaller, less flexible structure. The Sojag Messina saves $200 upfront but locks you into a fixed steel roof with zero drainage solution. If you want adjustable coverage and rain management under $2,000, GarveeLife covers the most ground with the most flexibility. That’s not a vague claim — the spec table shows it directly.
Where Competitors Have Genuine Edge Cases
The Yardistry 10×12 Cedar Kit ($1,899) wins on aesthetics. In a landscaped backyard with natural stone and plantings, pressure-treated cedar with a dark stain looks dramatically better than gray aluminum. The tradeoff is zero weather protection and annual sealing maintenance. The Palram Canopia Lagoon carries a 10-year frame warranty, which may matter if long-term warranty coverage is a priority. The StruXure Pergola X at $6,500+ for a smaller footprint brings motorized louvers, smartphone app control, and commercial-grade engineering — a different product category for a different budget.
The Clearest Pick for Most Buyers
For adjustable shade with rain coverage under $2,000, GarveeLife wins this comparison. If aesthetics drive the decision, choose Yardistry cedar. If budget warranty coverage is the priority, Palram Canopia is worth the smaller footprint. But if you want a working outdoor room you can tune to the weather on any given day, nothing else in this price range checks those boxes simultaneously.
Installing an Aluminum Louvered Pergola: What the Process Actually Involves
Assembly reviews for the GarveeLife 10×20 consistently land in the same place: harder than expected, but manageable with two people and realistic time expectations. Here is what the actual process looks like from unpacking to finished structure.
Tools and Prep You Actually Need
- Power drill with hex bit set — hand tools will exhaust you across 180+ bolt connections
- Rubber mallet for seating beam-to-post connections
- 4-foot level — the most important tool in the kit
- Two adults, minimum — beam sections run 40+ lbs each and require simultaneous alignment
- Concrete anchor hardware (sold separately, $40–60) or a ground anchor kit for non-concrete surfaces
- A full day blocked off, with a second day available if needed
Step-by-Step Assembly Sequence
- Inventory all parts against the printed parts list. Do not skip this — missing hardware has been reported in early shipments.
- Mark your footprint on the ground and position the four corner base plates. Check both axes for level before committing to position.
- Set the four corner posts. Check plumb with a level in both directions before torquing the base bolts. Off-plumb posts cause louver binding and drainage pooling — fixing this at step 3 takes five minutes; fixing it after the frame is built takes two hours.
- Attach the perimeter beams to the post tops, working opposite pairs simultaneously to keep the frame square as you go.
- Seat the drainage channels into the pre-machined grooves in the beam rails. These should click into position — if you’re forcing them, something upstream is misaligned.
- Install the louver carrier brackets along the inner beam rail faces.
- Slide each louver slat into position, threading the carrier rod through each bracket in sequence.
- Attach the manual crank linkage to the carrier rod. Test rotation through the full open-to-closed range three times and check for binding before final tightening.
- Anchor base plates to the surface: expansion bolts for concrete slabs, or concrete-filled ground anchors for grass or soil installation.
The Two Mistakes That Create Problems
Off-plumb posts at step 3 — that’s mistake one. Everything downstream depends on vertical alignment: louver slat swing, drainage channel seating, and frame squareness. Use the level, don’t eyeball it.
Mistake two is not reading ahead in the manual. The drainage channel installation in step 5 is affected by beam orientation choices made in step 4, in a way that isn’t apparent from the diagrams alone. Read the full sequence once before starting assembly. Twenty minutes of preview saves a significant amount of disassembly time.
Who Should Buy This Pergola

This pergola makes sense for homeowners with a rectangular concrete patio over 150 sq ft who want genuine sun-and-rain flexibility without contractor pricing or a $5,000+ motorized system. Skip it if you need hurricane-rated construction, expect motorized operation, or plan to assemble it alone — none of those are what this product offers, and no amount of enthusiasm on the spec sheet changes that.

Leave a Reply